Adapted (because I never seem to follow recipes) from a recipe found here!
What I used:
- 2 Mushy, browning bananas
- 1/2 cup creamy peanut butter
- 1/4 cup Canola Oil
- 1 Egg
- 1/3 cup Sugar
- 1/4 cup Brown Sugar
- 1 1/2 cups Flour
- 1/2 tsp Baking Soda
- 1 1/2 tsp Baking Powder
- 1/2 tsp Salt
- 3 Giant Spoons of Nutella
 |
| The most important part |
1. Preheat oven to 350F. Grease and flour bread pan.
2. Stir together flour, baking soda, baking powder and salt.
3. I used my mixer to mash the bananas, then added the Peanut Butter, Oil, Egg, and sugars.
4. Whisk until everything is well combined.
 |
| Delicious Mush |
6. Spread batter evenly into bread pan.
7. Drop 3 spoonfuls of Nutella on top.
 |
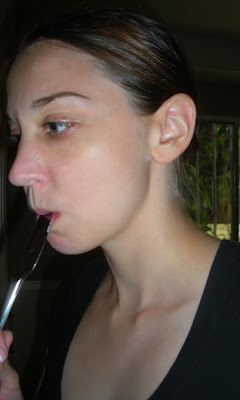
| Be sure to lick the spoon clean! |
8. Swirl in with knife.
 |
| Yum! |
 |
| Be sure to lick the knife clean as well! |
About 10 minutes in it smelled AMAZING! I wish there was a way to post smells on the internet.
I meant to check mine about 40 minutes in, but forgot until about 44 minutes. The Nutella on top was starting to burn :( but the toothpick came out clean. I'd say closer to the 40 would probably have been perfect. Next time I'll start checking around 30-35 minutes.
 |
| A little dark on top :( |
Let cool in pan for roughly 10 minutes, then turn out onto cooling rack. If it's sticking or having trouble coming out, run a knife along the edge. Let cool before cutting. I know, it's really hard, but it'll cut better once it's cooled down.
As you can see, the inside was done perfectly.
It was good, but there are definitely some things I'd like to change about it. I'll have to play around with it and do another blog sometime :)


No comments:
Post a Comment